Video Game Emulator Guide | Turn Your Device Into A Retro Console
Video game emulation is the process of digitizing and playing your old video games on modern devices like a phone, laptop, or even a $30 unlocked Fire TV Stick. Emulators are free applications that simulate the hardware of a video game system on a different computer architecture. This means the gadget running an emulator acts as the console it’s mimicking, complete with its operating system and virtual storage device for game saves. Today there’s an emulator for every major video game console, ranging from the first ever Atari 2600 to current-generation systems like the Nintendo Switch.
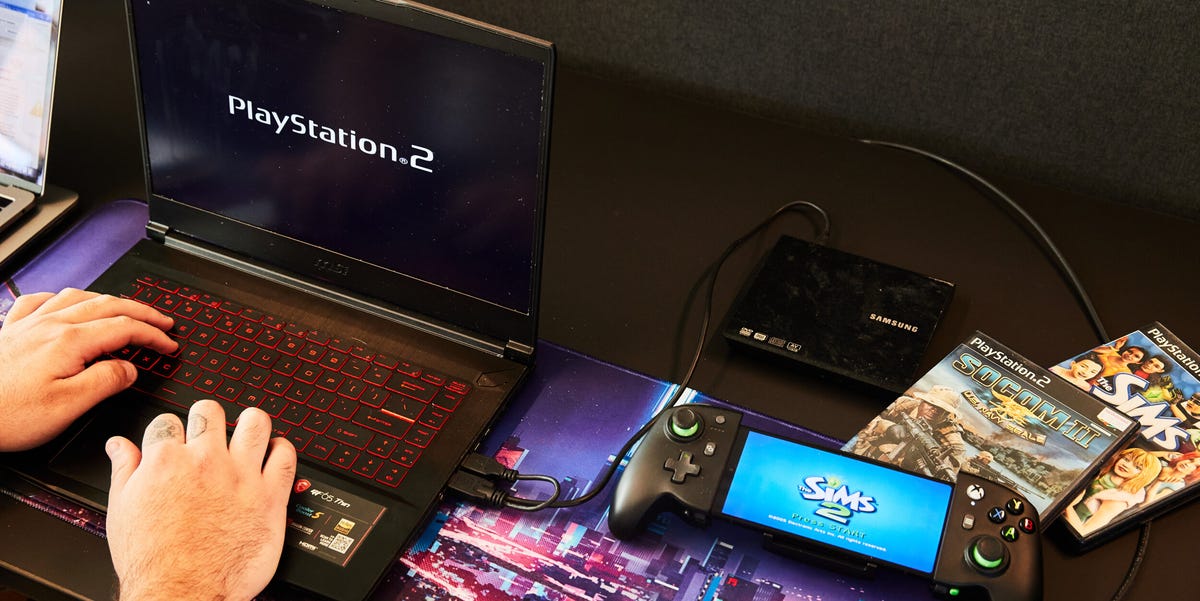
But since you can’t throw a cartridge or disc into most modern hardware, you’ll need to back up your physical collection of games to digital files called ROMs (named after Read Only Memory chips, which have traditionally stored video game data). For example, I run my ROM collection of PlayStation 2 games from a compact Google Pixel 6a smartphone without having to bust out the discs or the bulky original console. This means I also get modern conveniences like graphics upscaling, cheats, and even online play that original hardware can’t match. Read on to see just how easy it is to get started.
First, Know That Backing Up Your Games for Personal Use is Legal
Emulation often gets a bad rap because of its association with pirates illegally downloading ROMs from the internet and playing them using an emulator. On the other hand, it’s your right to back up (also called dumping) physical games that you own to digital files that can be played by an emulator. If you have the disc or cartridge of an old favorite laying around, you’ll need access to a computer to convert it into a file format that can be played by emulators across your devices. It’s a lot easier than it sounds and is similar to how you may have ripped songs from CDs to digital MP3 files using iTunes back in the early aughts.
More From Popular Mechanics

Backup A Game Disc
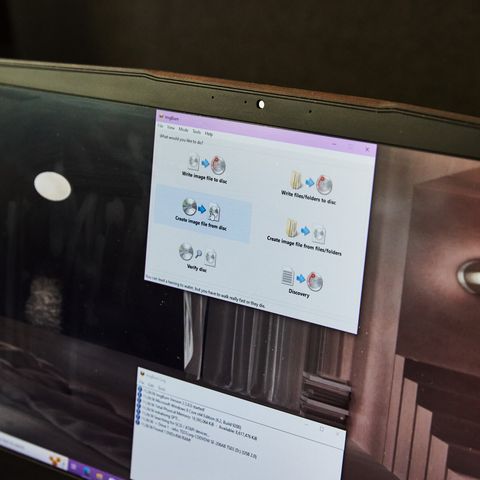
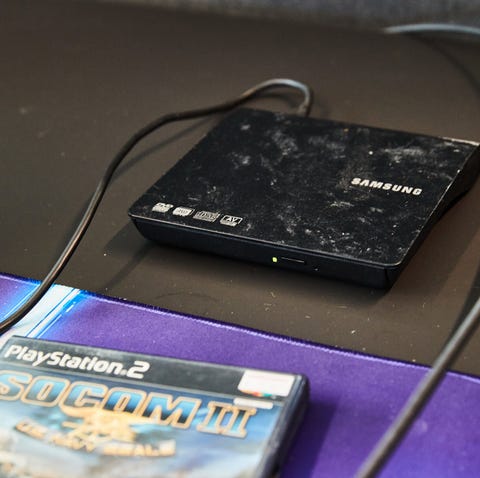
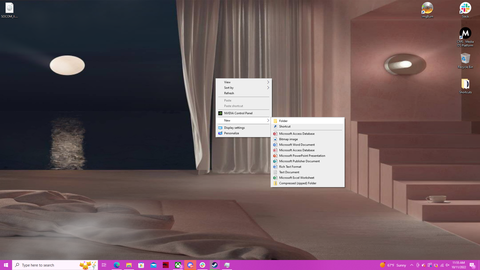
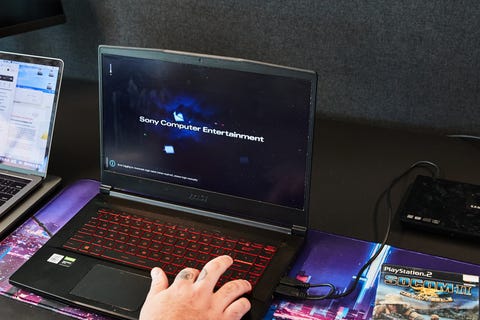
Those looking to play older cartridges will need to purchase a general purpose dumper like the $70 RetroBlaster, which comes with its own software to backup Sega Genesis or SNES titles. You can purchase separate adapters to back up cartridges from systems like the Gameboy or Nintendo 64. But for disc-based systems like the original PlayStation and beyond, you just need a computer with a built-in optical drive (or buy an external DVD burner if your system lacks one) to create an exact digital copy of the game disc. You can use the free program ImgBurn to convert the disc’s contents to a single digital file. To keep things organized for later, you’ll want to create a dedicated folder for each system where you’ll place these games.
Find the Emulator for the Video Game Console You Want to Play
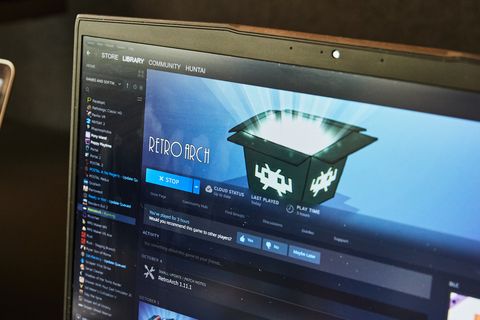
Once you have your game files, you need to find an emulator for their corresponding systems to play them on. I primarily use an all-in-one emulator called RetroArch, since it’s an app that’s available on most digital storefronts like Steam for computers or the Google Play store on mobile devices. RetroArch acts as a hub that combines emulators for multiple systems into one piece of software that’s easy to navigate. You just need to download the console you’d like to play as a “system core” from the main menu, then load it up from within RetroArch.
This eliminates the need to download separate programs for each console while carrying over graphics settings, controller mappings, and menus between systems. Plus it’s just nice to have all of your consoles and games accessible from one clean space. RetroArch offers benefits other standalone apps don’t like RetroAchievement integration, Netplay for playing classic titles online, and screen captures or recordings. Since I dumped PlayStation 2 games, I used the app’s PlayStation 2 core called PCSX2. But if you simply want to play a single system, here are a handful of the more popular individual emulators I’ve used extensively in the past and recommend:
Home Consoles
Handhelds
Running An Emulator on PC
Once you download and run the program installation for any of these systems, you will end up in their main menu. You will want to direct each emulator to a location to look for games—why we created the specific folders earlier. Head into Settings, choose Load Content, and select the console game folder to add your titles. Once the process is complete, you’ll want to check to make sure each game shows up in the list. Now every time you load into the app’s main menu, you can see your games as well as their cover art. Click on the title you want to play and you’ll be greeted by the console’s boot screen followed by your game. While you can use keyboard and mouse controls, I prefer to use the Xbox Elite Series 2 controller. It’s not cheap, but it’s a durable and comfortable gamepad that works wirelessly across multiple devices via Bluetooth. Beyond Xbox, I use it as my universal gaming controller with streaming sticks, computers, and tablets.
Running An Emulator on Android
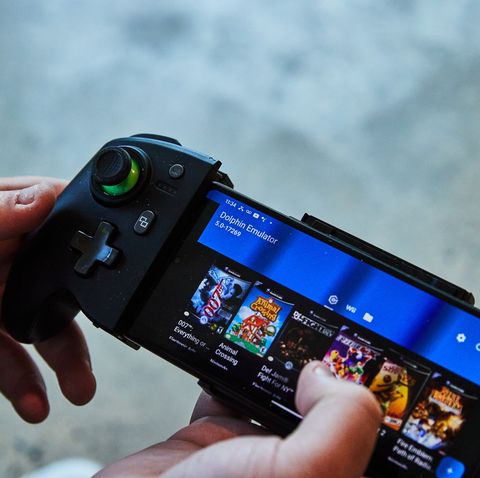
Modern Android phones and tablets now have the computing and graphics power to smoothly emulate systems as recent as the Nintendo Wii. For example, the budget $300 Pixel 6a plays demanding 3D GameCube and PS2 games in a widescreen format with resolution enhancements without a stutter. You can get emulators (like RetroArch) directly from the Google Play Store, but I like to use the standalone Dolphin Emulator (Wii/Gamecube) and AetherSX2 (PlayStation 2) apps for their smarter mobile interfaces and to keep separate game libraries.
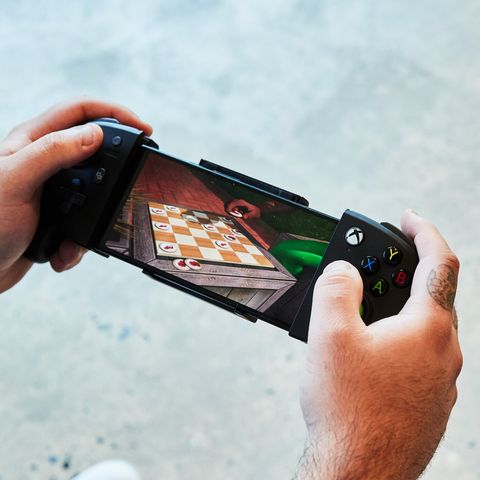
While these emulators support touch controls, I recommend grabbing a mobile controller for your Android phone. I use the MOGA XP7-X one from PowerA, as it accurately recreates the comfort of an Xbox gamepad in a compact, telescoping design. Using a controller also removes the touchscreen control overlays, which can be distracting. (Unfortunately, Apple’s app store is locked down, which means iPhones don’t natively support emulation and require complex workarounds.)
Tweaking Emulator Settings
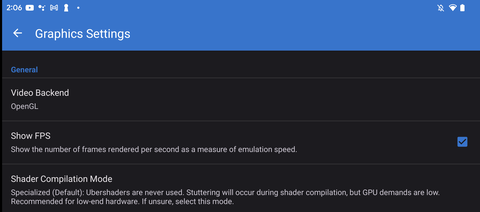
While emulators use default settings meant to run across a wide range of hardware, you can enable more powerful options like stretching the picture to fill the screen or upscaling resolution for a sharper image. Switching the graphics settings from the widely supported OpenGL to Vulkan grants gains to speed and visual quality. To make sure you balance graphical fidelity with performance you’ll want to use the built-in frame rate counter to make sure you’re hitting your target speeds. For me, I’m happy with a baseline of 30 frames per second (fps), but videophiles may want the smooth performance of 60 fps.
Emulating old-school video games is a great way to satiate your nostalgia and squeeze more functionality out of your devices. You get more ways to play in more places while enhancing the overall gameplay experience. Most emulators even support action replay, so you can modify games with cheats or rewind gameplay if you make a mistake. With this knowledge you can tackle some of the more challenging games in your library and finally see their endings after all these years.
Hunter Fenollol, our resident expert of all things consumer tech, from smart home to VR gaming headsets, has years of knowledge creating product explainers, in-depth reviews, and buying guides to help you get the most from the latest electronics. Throughout college, he covered and reviewed the latest gadget releases for sites like Tom’s Guide, Laptop Magazine, and CNN Underscored. If he’s not elbow-deep in the latest hardware, you can find Hunter at one of Long Island’s many beaches, in Manhattan, or gambling away his paycheck.

