


Windows 11 Keeps Crashing: 11 Fixes


When Windows crashes on your PC, it can be hard to know where to start troubleshooting. Here are 11 fixes for when Windows 11 keeps crashing.
Nothing is more annoying than having Windows crash while you’re in the middle of your workflow and getting things done.
There can be several reasons why Windows 11 keeps crashing. It could be a hardware issue, outdated driver, bug within Windows, malware, or any number of undiagnosed problems.
Knowing where to start troubleshooting can be a chore, but we’ve put together some steps you can take to fix a crashing Windows 11 PC below.
1. Basic Troubleshooting Fixes When Windows 11 Keeps Crashing
You can try these basic troubleshooting steps to resolve the issue before diving in deeper.
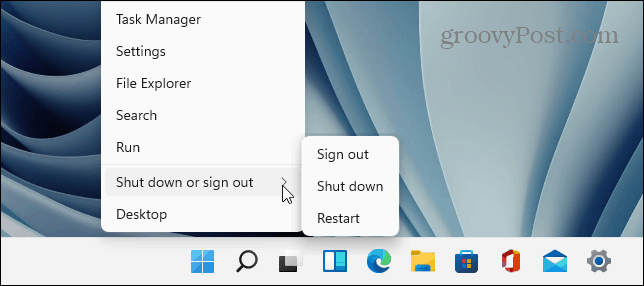
First, try to do a complete shutdown of Windows 11, unhook any external devices, and turn your PC on again to see if it crashes. Plug one external device back in at a time to narrow down the troublesome peripheral.

If you’re still having issues, attempt a Clean Boot which loads only minimal startup apps and drivers. If there’s instability within Windows and it crashes before getting to the sign-in screen, boot Windows 11 into Safe Mode instead.
2. Check for Updates
If your system is crashing, Microsoft may have an update with a bug fix that will alleviate the problem.
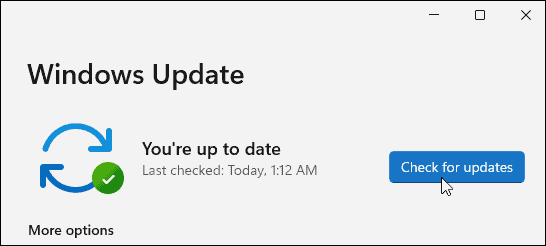
You can manually check for Windows 11 Updates by opening Start > Settings > Windows Update and clicking the Check for updates button.

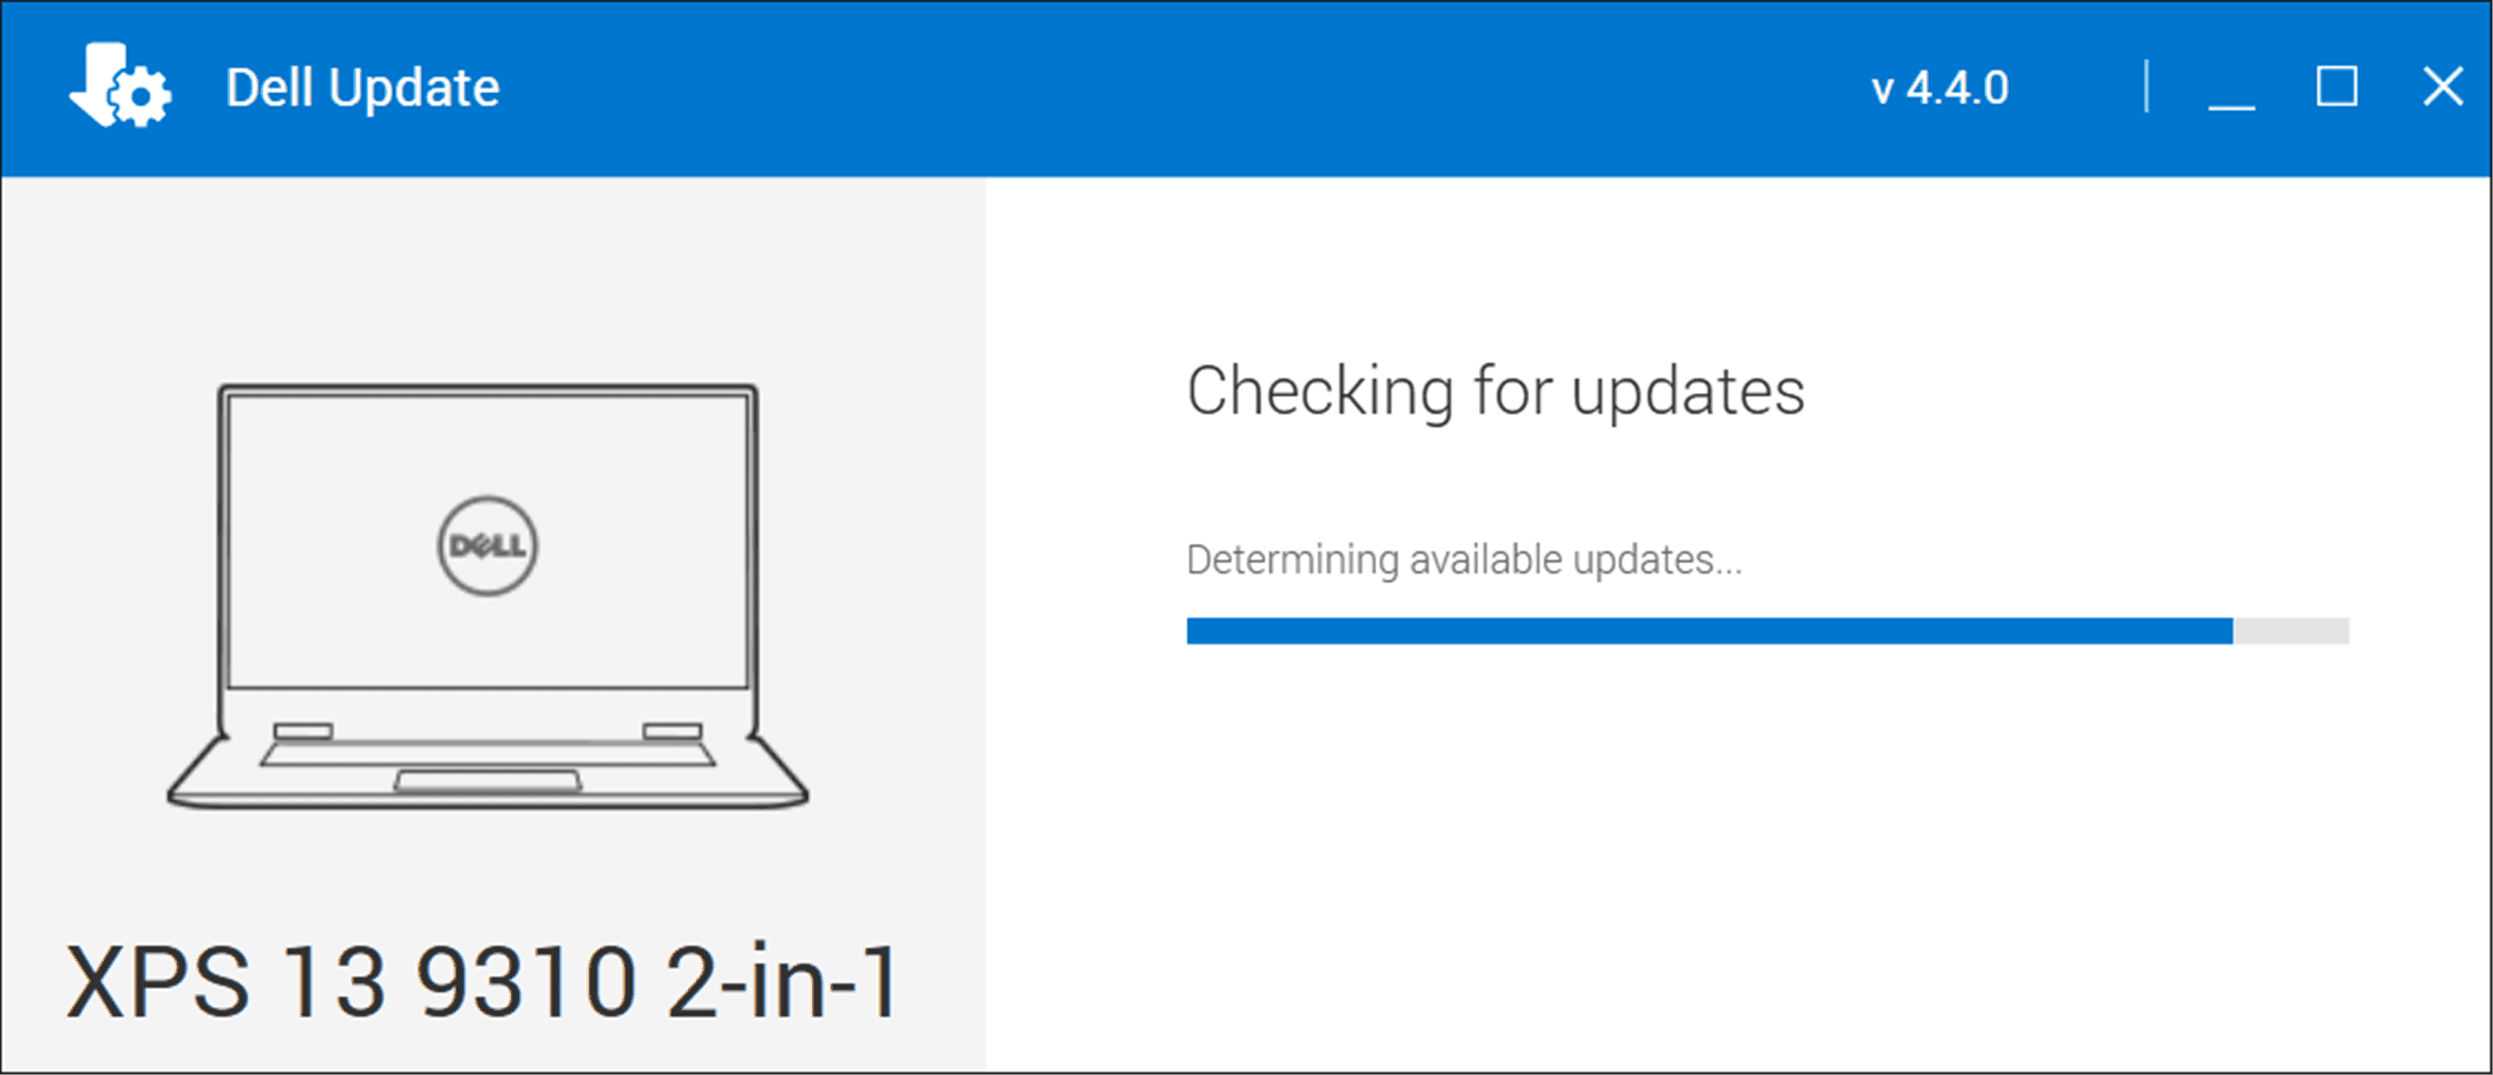
It’s also important to check for updates from your PC’s manufacturer. Find the OEM update app (if it has one) and check for system and hardware updates. If there isn’t an OEM update app, check the manufacturer’s support site to download system updates.

3. Check System Memory (RAM)
One of the internal hardware issues could be problems with the RAM in your PC. Windows has a built-in memory diagnostics tool you can use to check for problems.
To run the Windows Memory Diagnostic tool, use the following steps:
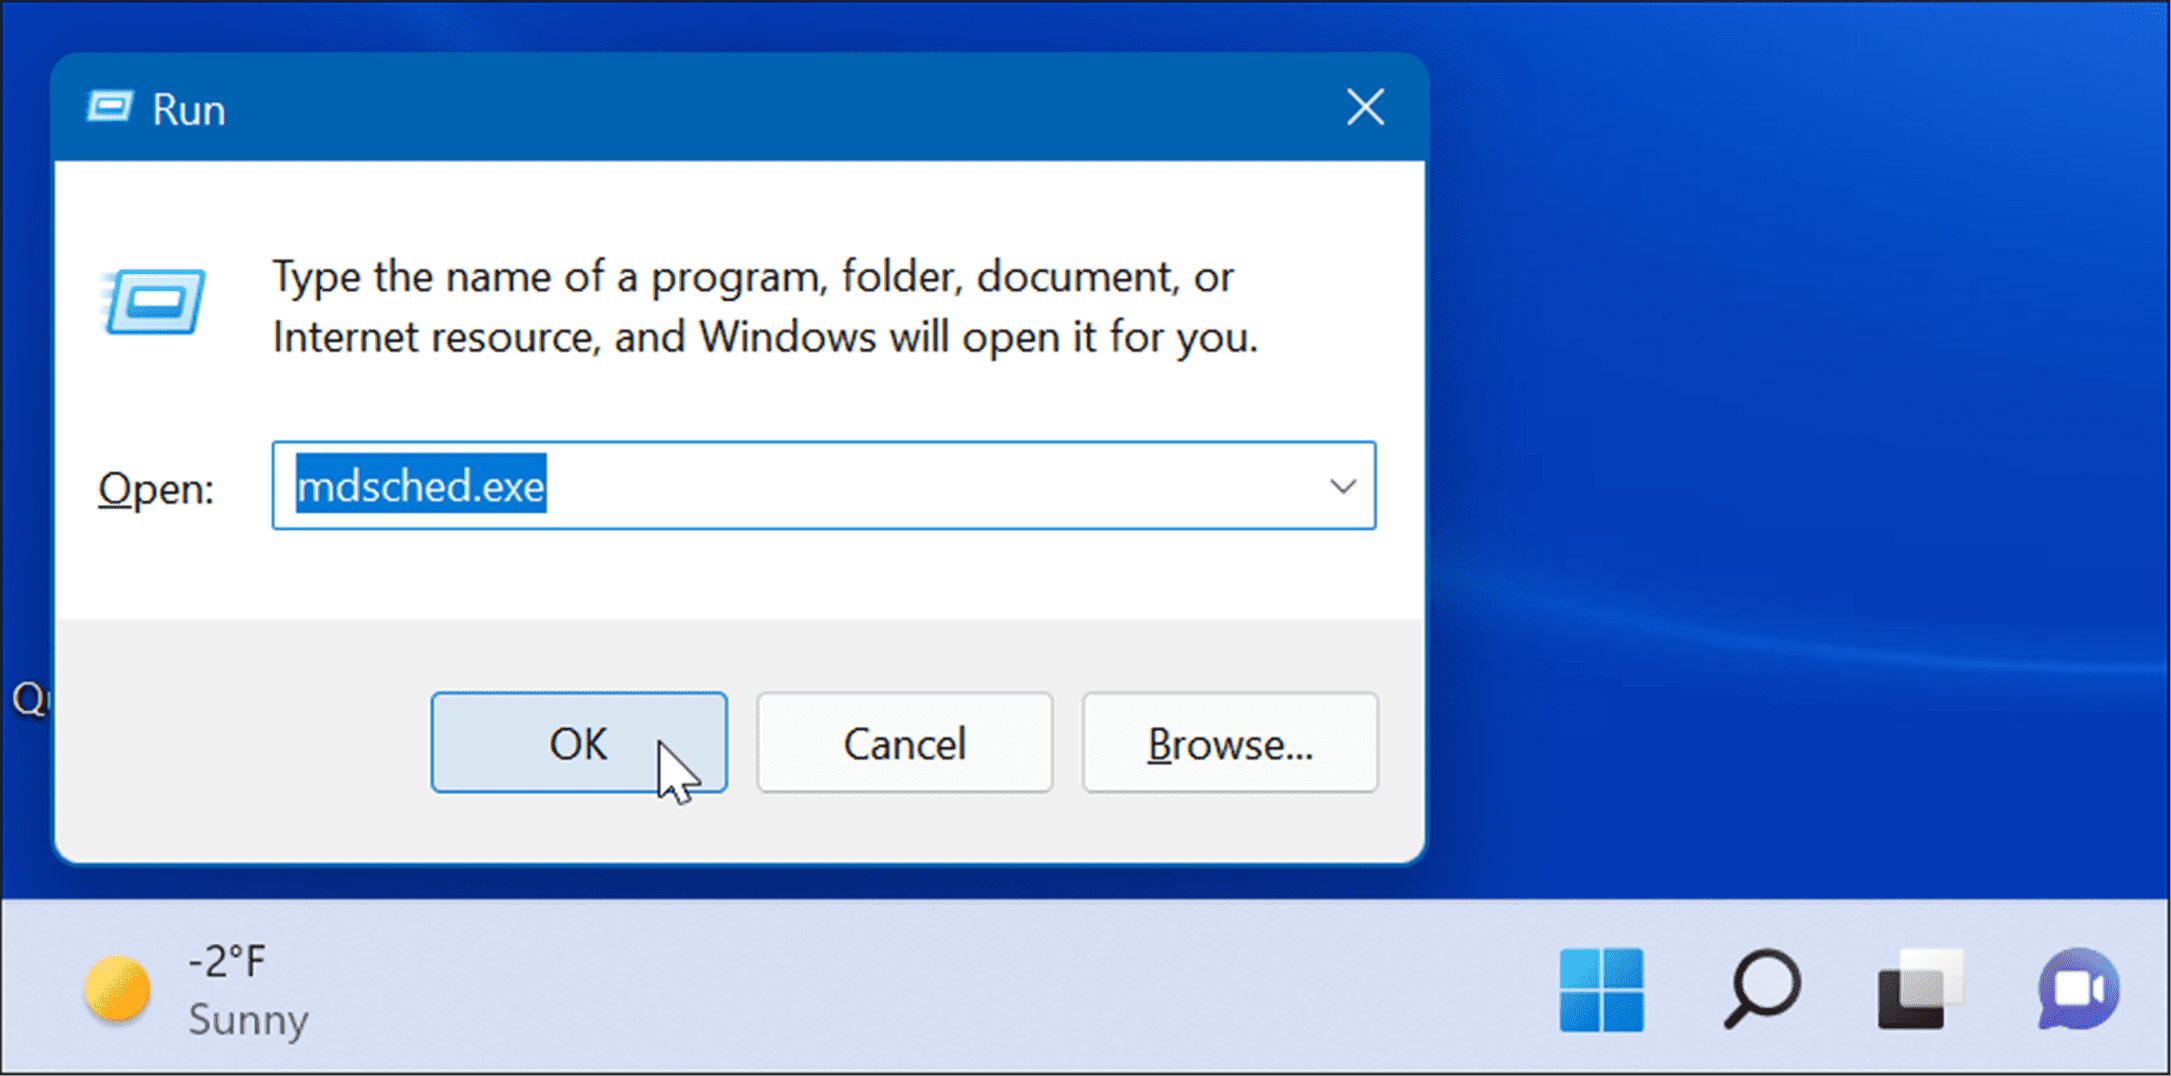
- Use the keyboard shortcut Windows key + R to launch the Run dialog, type mdsched.exe, and click OK.

- When the Windows Memory Diagnostic tool opens, click the Restart now and check for problems option at the top.
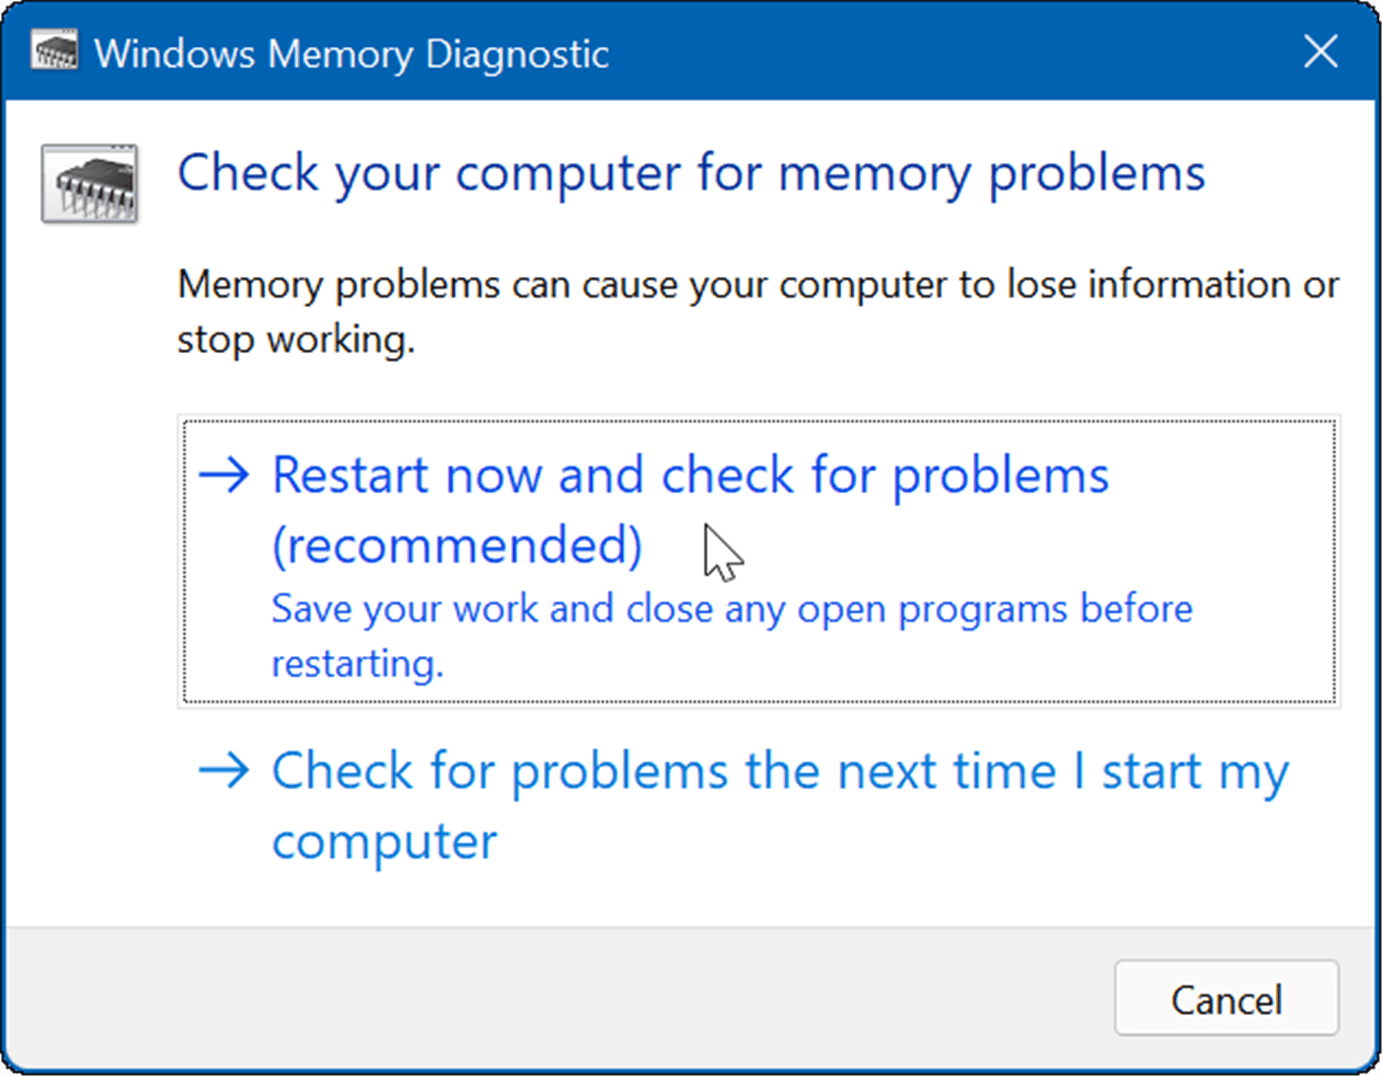

After the PC restarts, it will boot into the diagnostic tool and check your RAM for problems.


If you’re looking for a third-party utility, take a look at Memtest86+ to test for bad RAM.
Note: If you manually installed RAM in your PC, double-check to see if it’s seated correctly.
4. Update Hardware Drivers
The hardware drivers on your system could be out of date. If you’re getting a blue screen error, note any mention of specific hardware so you know where to start looking.
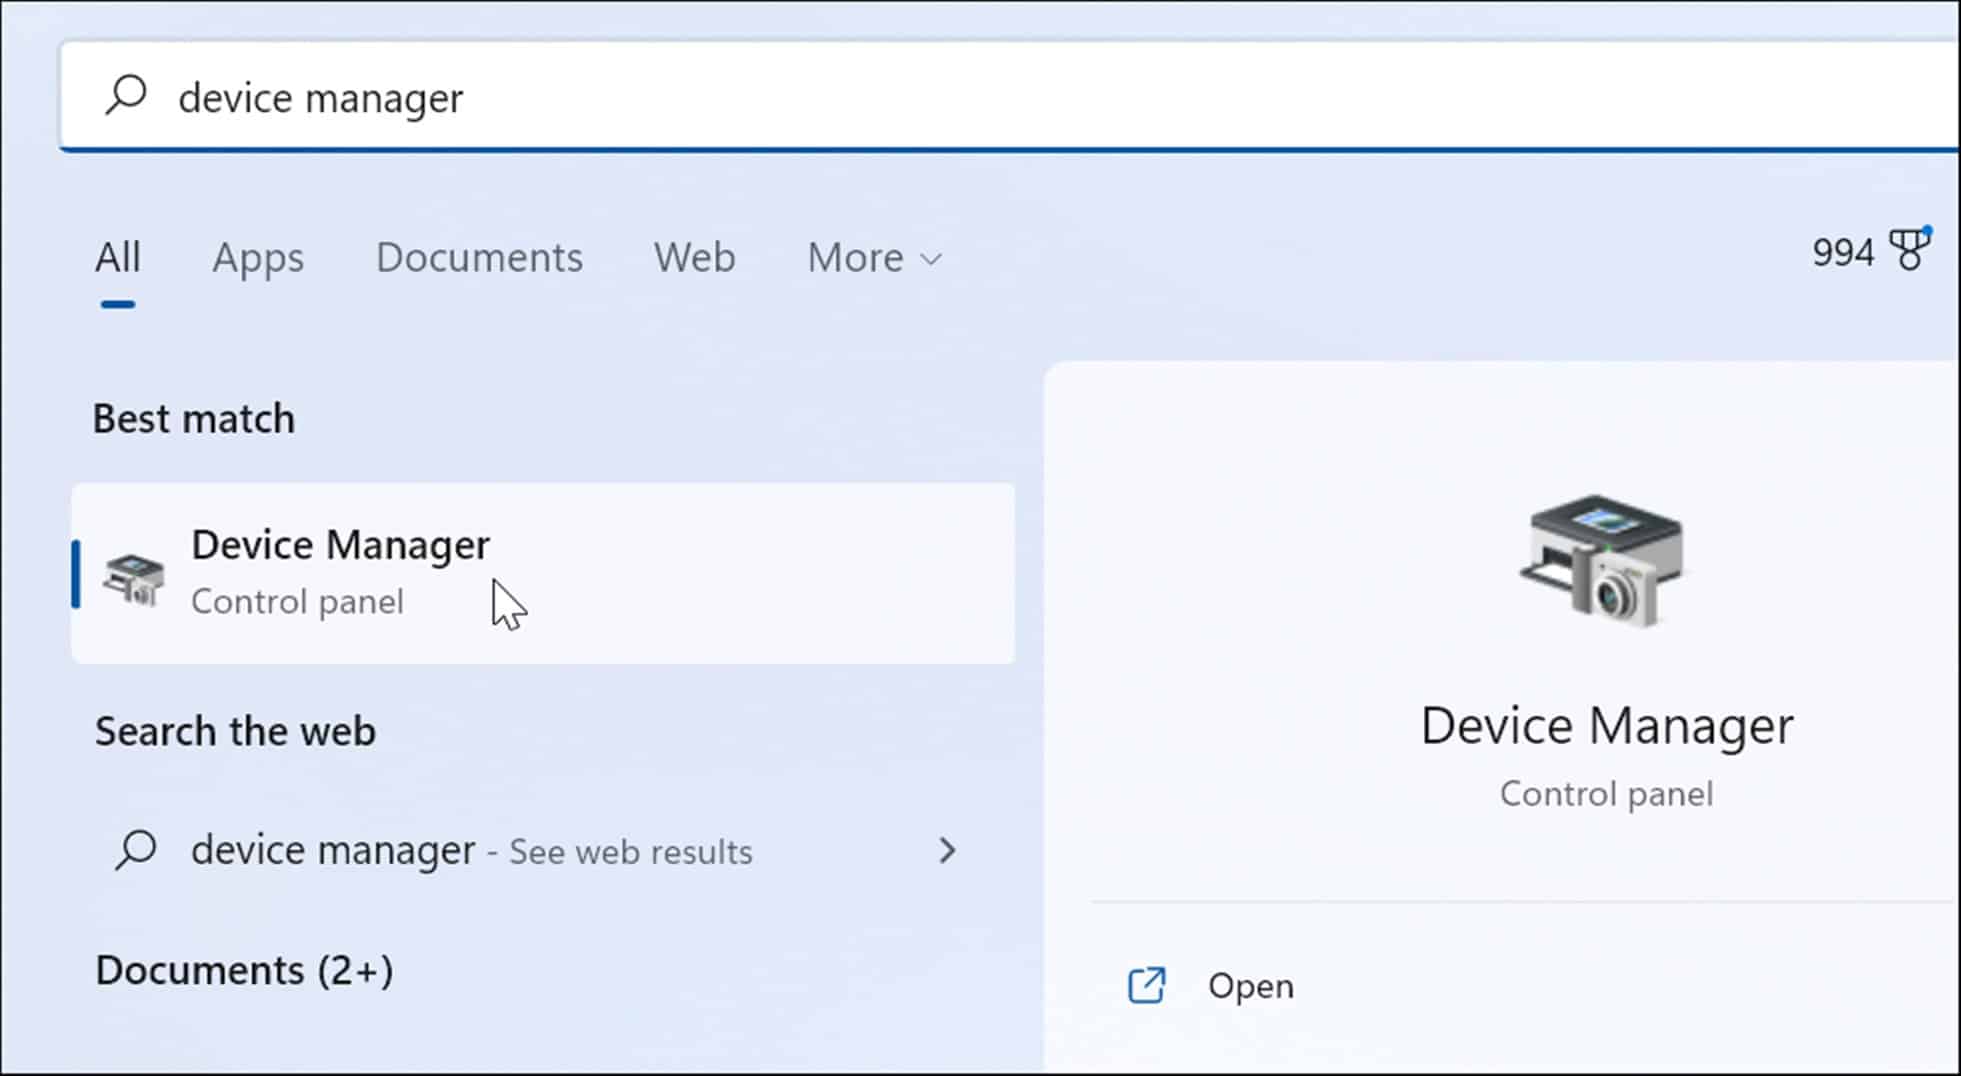
It’s also a good idea to open Device Manager and check for errors. To check Device Manager, use the following steps:
- Click the Start button, type device manager, and click the top result.

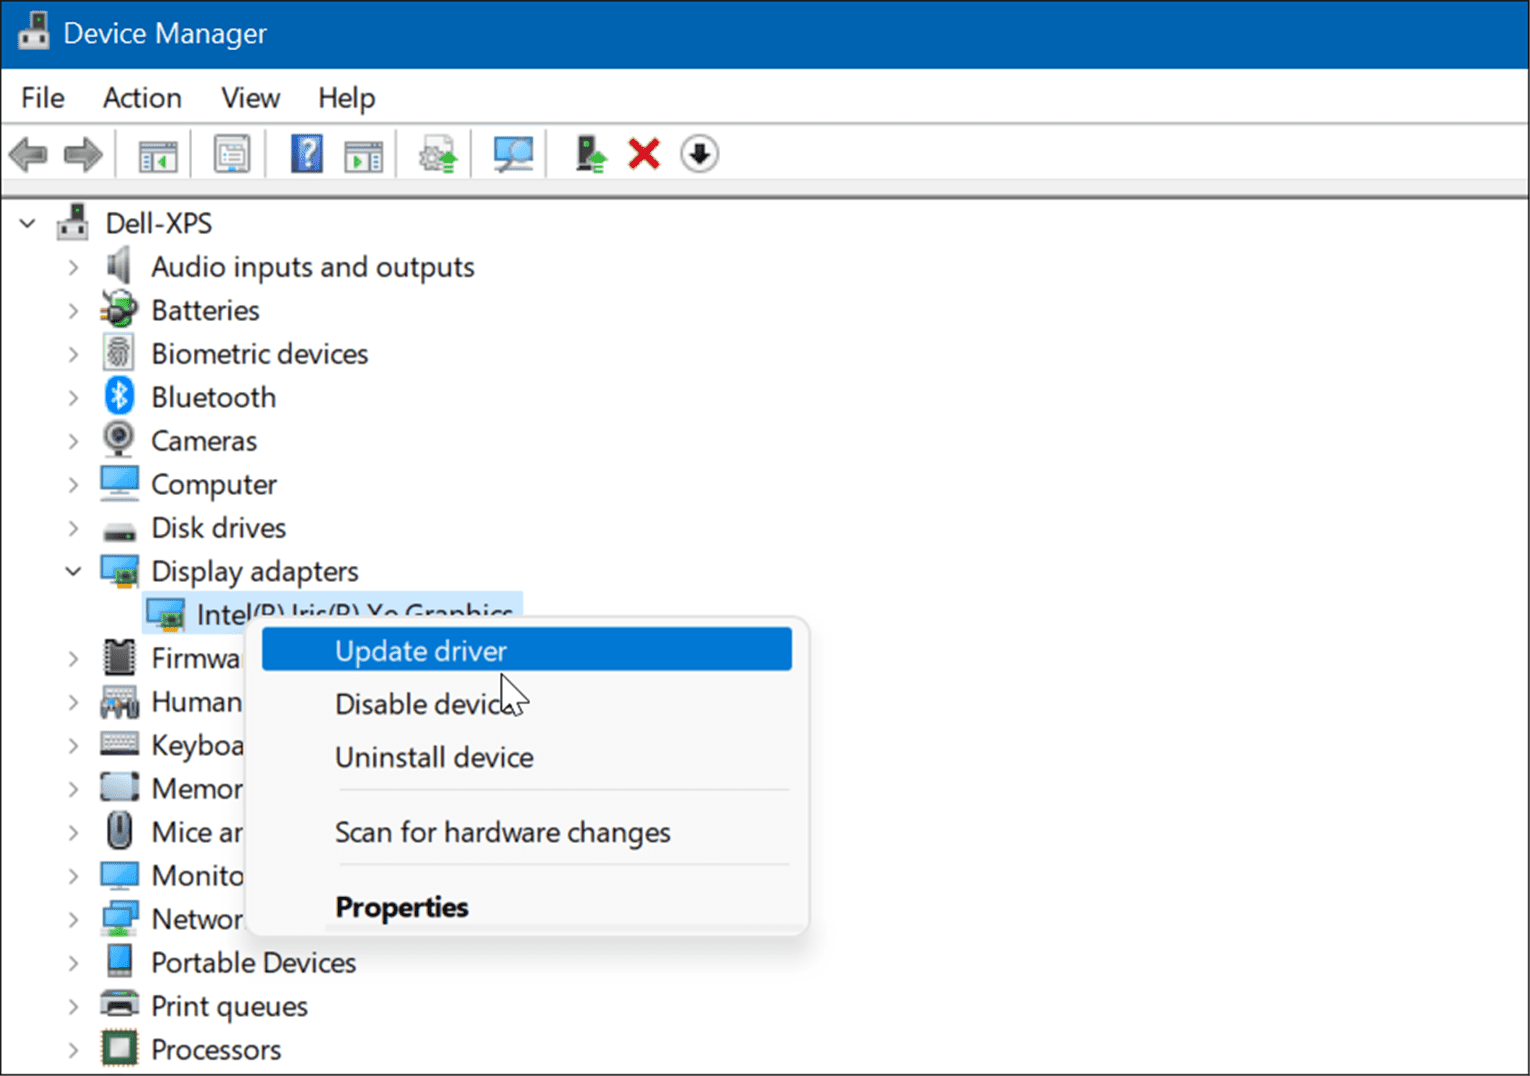
- When Device Manager opens, scroll down the list and look for a red or yellow warning notification. If you find a device with an error, update the device driver by having Windows look for it automatically, or check the device manufacturer’s site and manually install it.

5. Check for Malware
Viruses and other malware can be causing Windows 11 to crash. Windows Security (formerly Windows Defender) is built into Windows 11 and scans your system in real-time, but nothing is 100 percent effective.
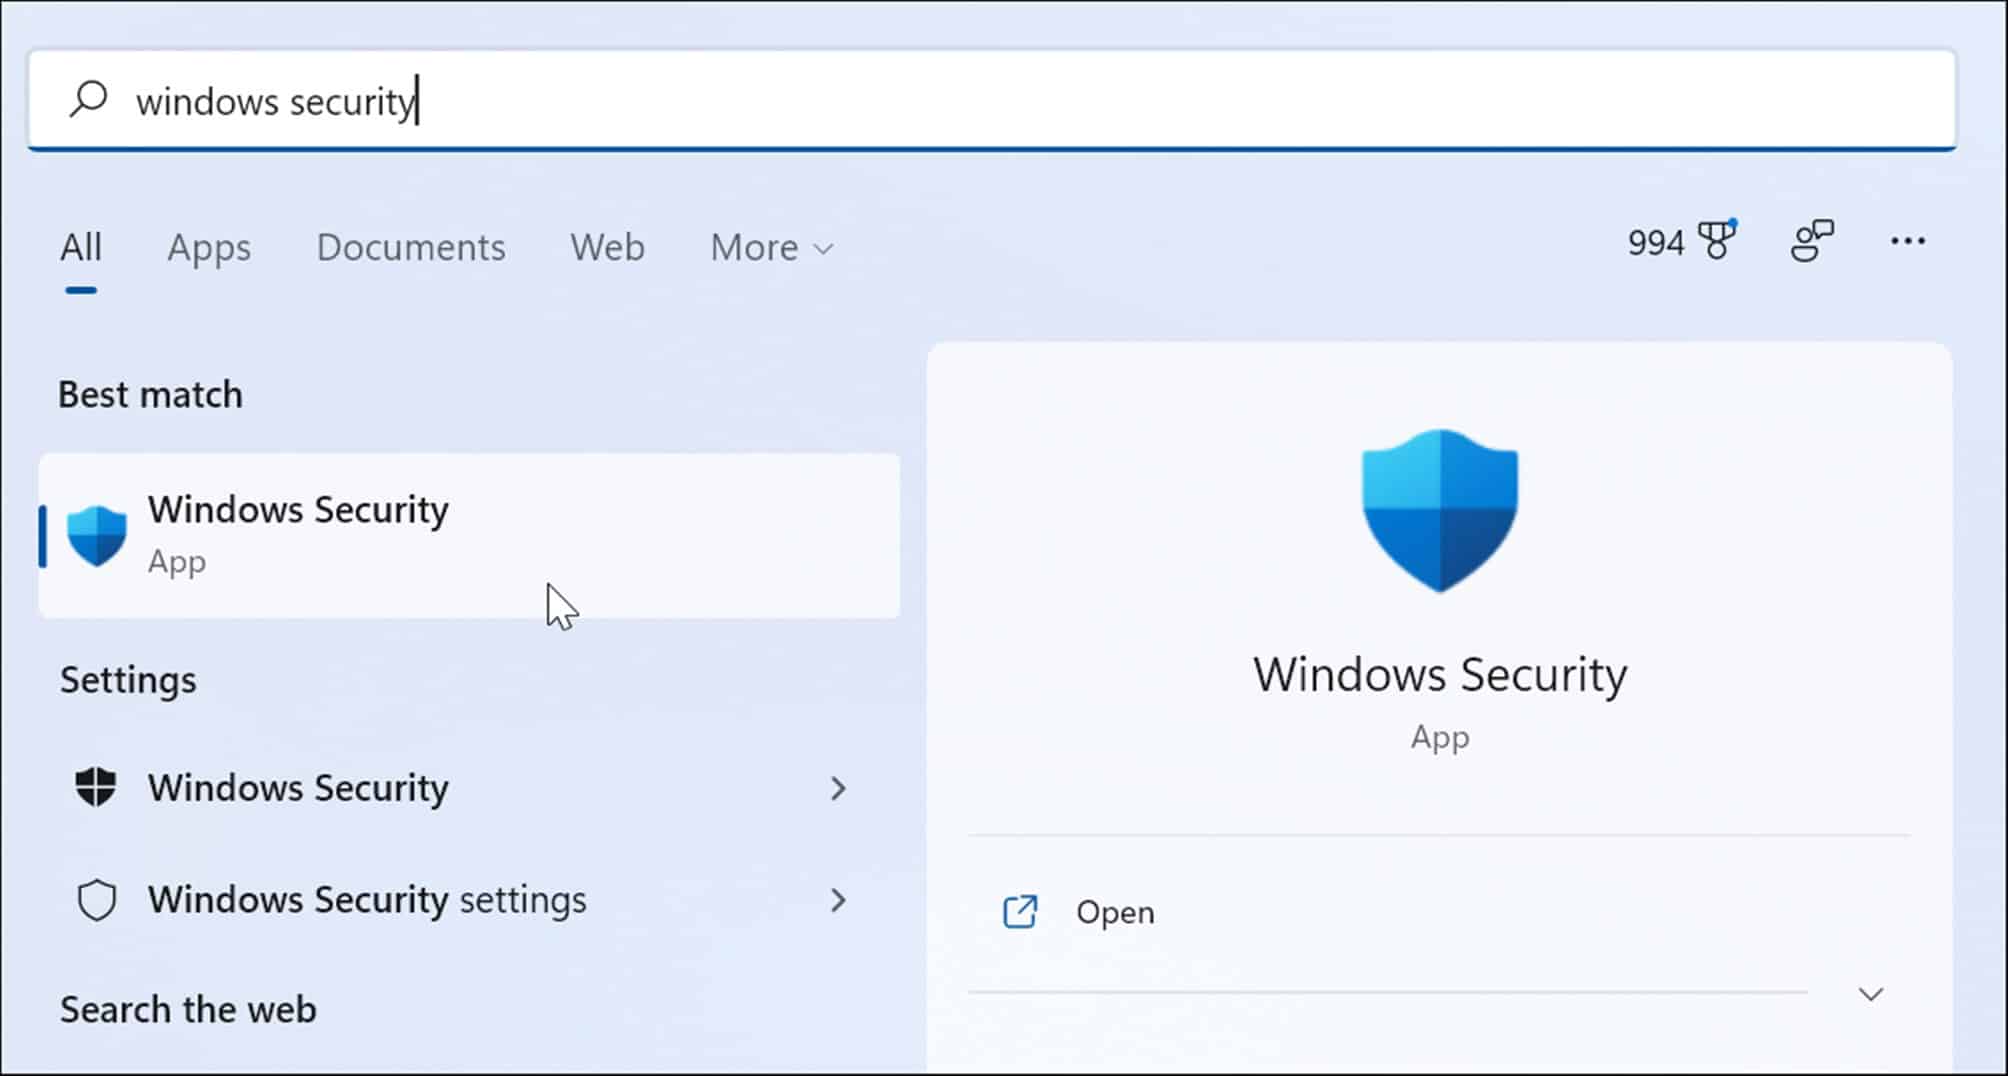
You can run a malware scan manually by using the following steps:
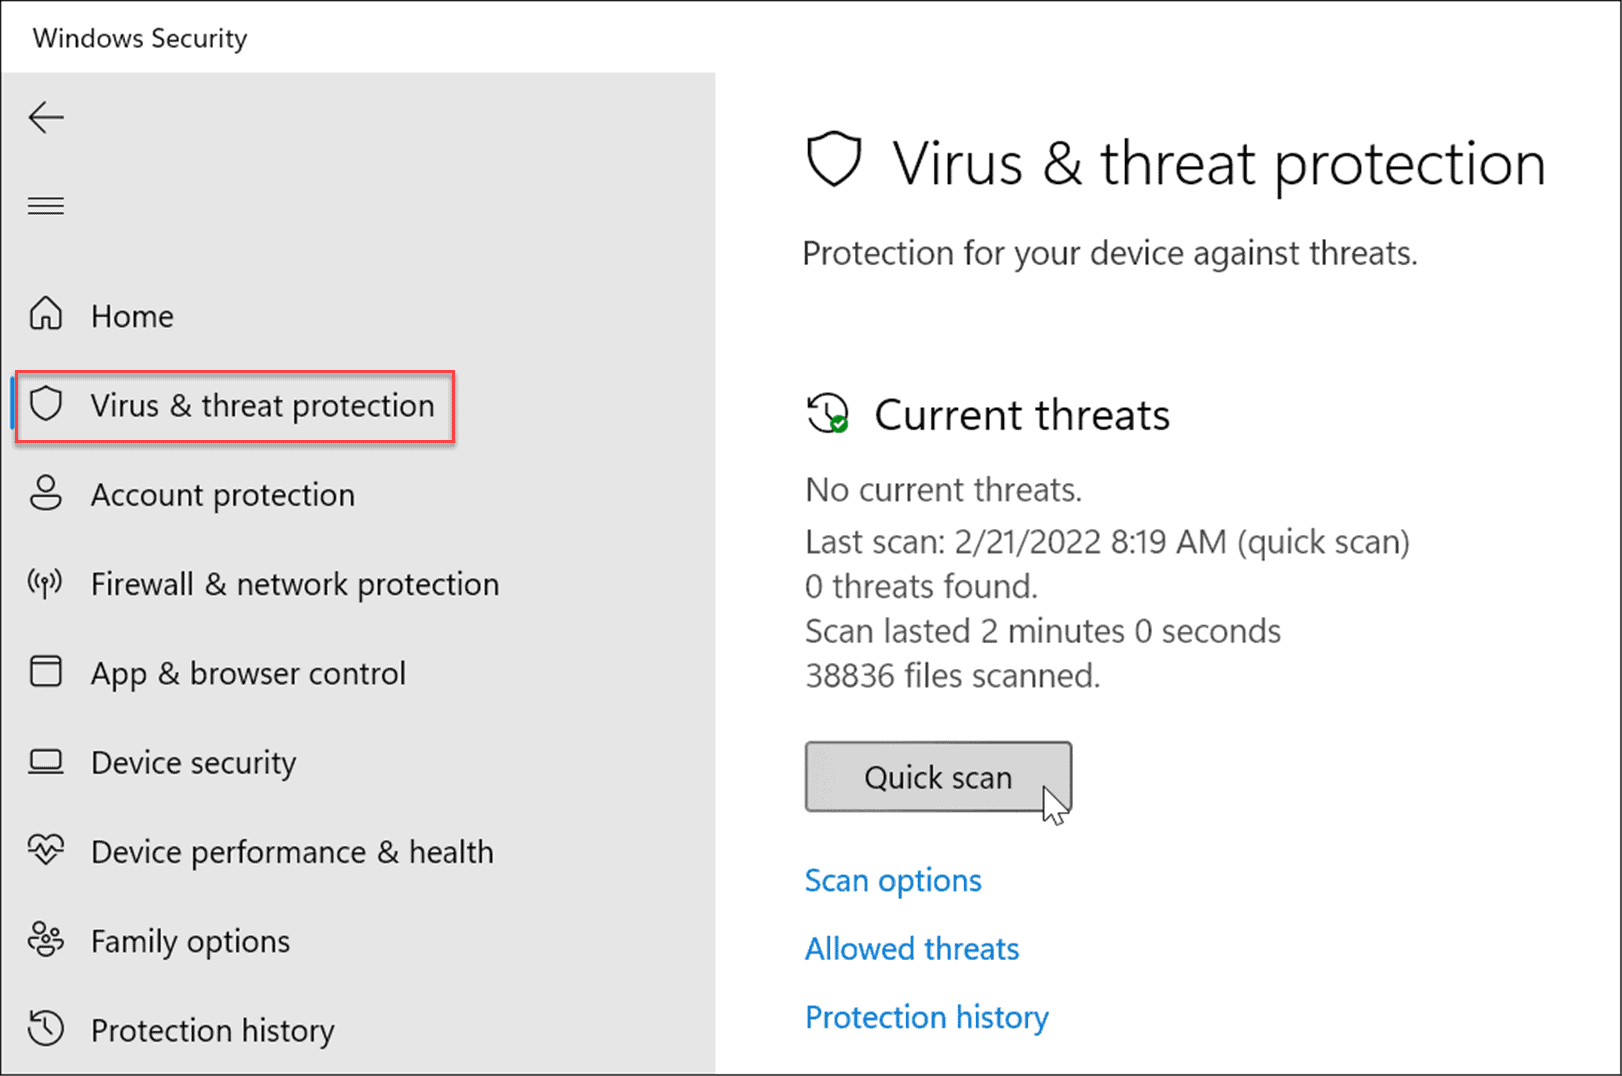
- Click the Start button or press the Windows key, type windows security, and select the top result.

- When the Windows Security app launches, select Virus & threat protection from the left and click the Quick scan button.

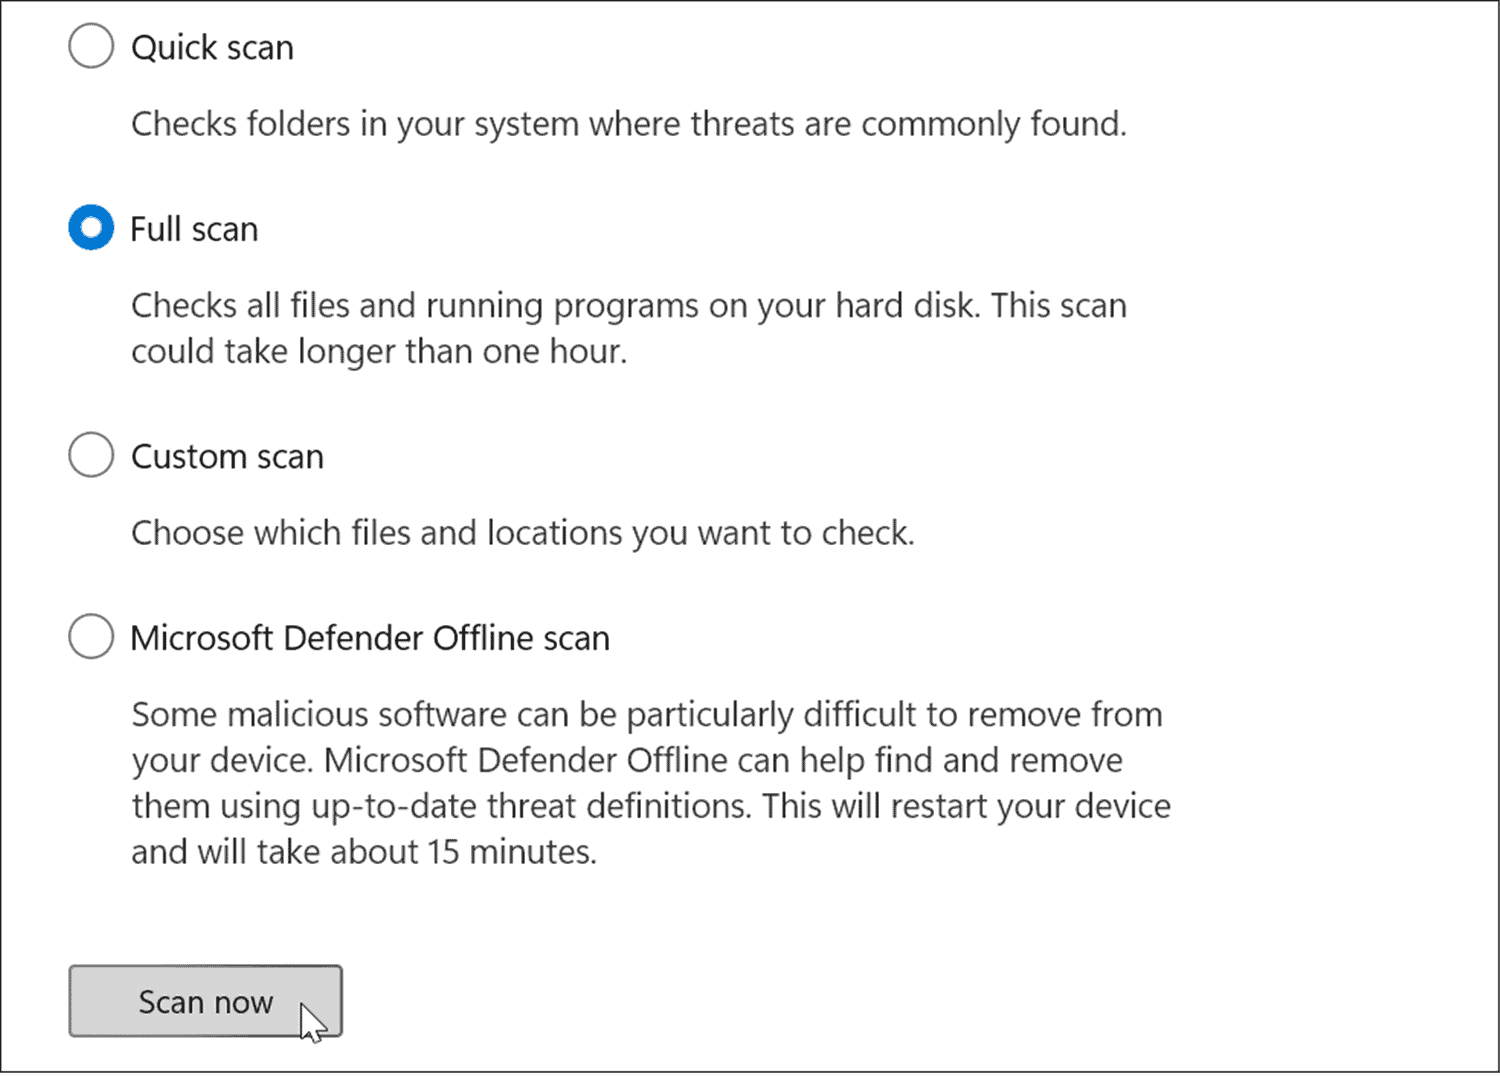
- If it doesn’t detect anything, you may want to do a deeper scan. Click the Scan options link and select a Full scan or Microsoft Defender Offline scan and click the Scan now button. Note that deeper scans take longer to complete but can be worth the wait if stubborn malware infects your system.

Whether or not the Windows Security app finds malicious software, you may want to get a second opinion. Run a scan with a free security app like Avast or AVG AntiVirus. Of course, if you have a paid software suite, you’ll want to run a scan with it.
6. Overheating Issues
If your Windows 11 PC overheats, it’s likely going to crash. It’s actually a protective mechanism by Windows to shut itself down when overheating to avoid component damage.
To avoid heating issues on a desktop, ensure it has enough ventilation and fans are working. Make sure it’s clear of dust by using canned air to clean it out. Also, if you built the PC, check that heatsinks aren’t loose.
If you’re using a laptop, try to keep it off surfaces like blankets or leave the fan port covered by your lap too long. Also, don’t leave the laptop running and put it in a backpack or other bag.
7. Fix Software Conflicts
If you notice Windows 11 crashes after running a particular app, update or uninstall it. An update might bring important bug fixes, but if the app is poorly made, you might just need to remove it to fix any system instability.
Update Microsoft Store Apps
To update Microsoft Store apps, do the following:
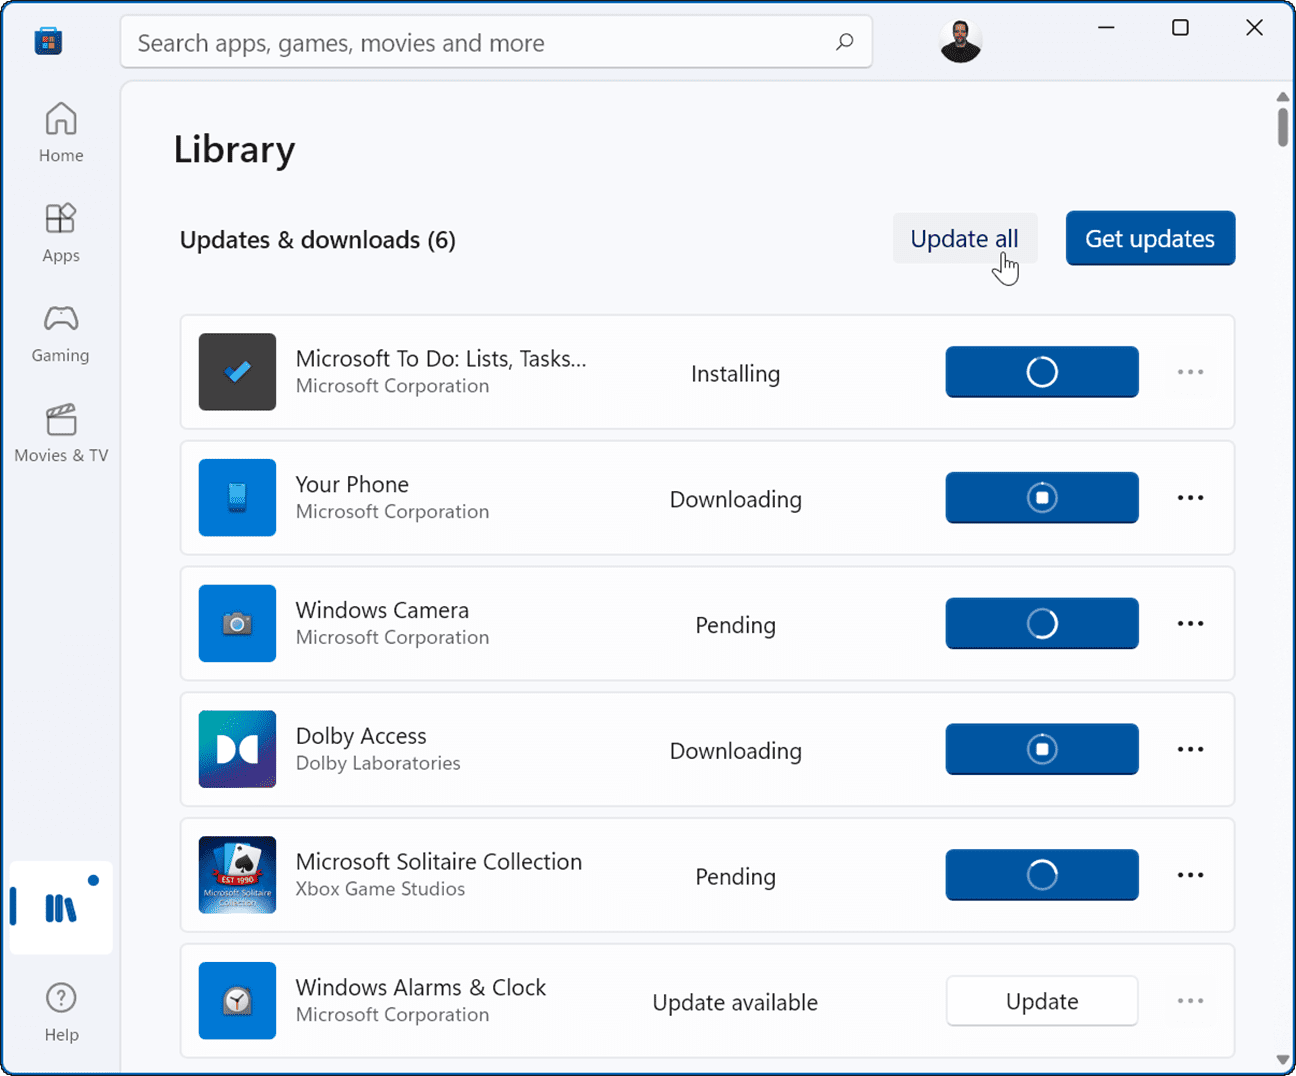
- Launch the Microsoft Store and click the Library icon from the left panel.
- Click the Get updates button to check for app updates and the Update all button to install them.

Other Win32 desktop apps you have can be updated from within the app. Each app varies, but typically you’ll want to look for Settings > Update or About > Update to get the latest version.
Uninstalling Apps
To uninstall apps on Windows 11, do the following:
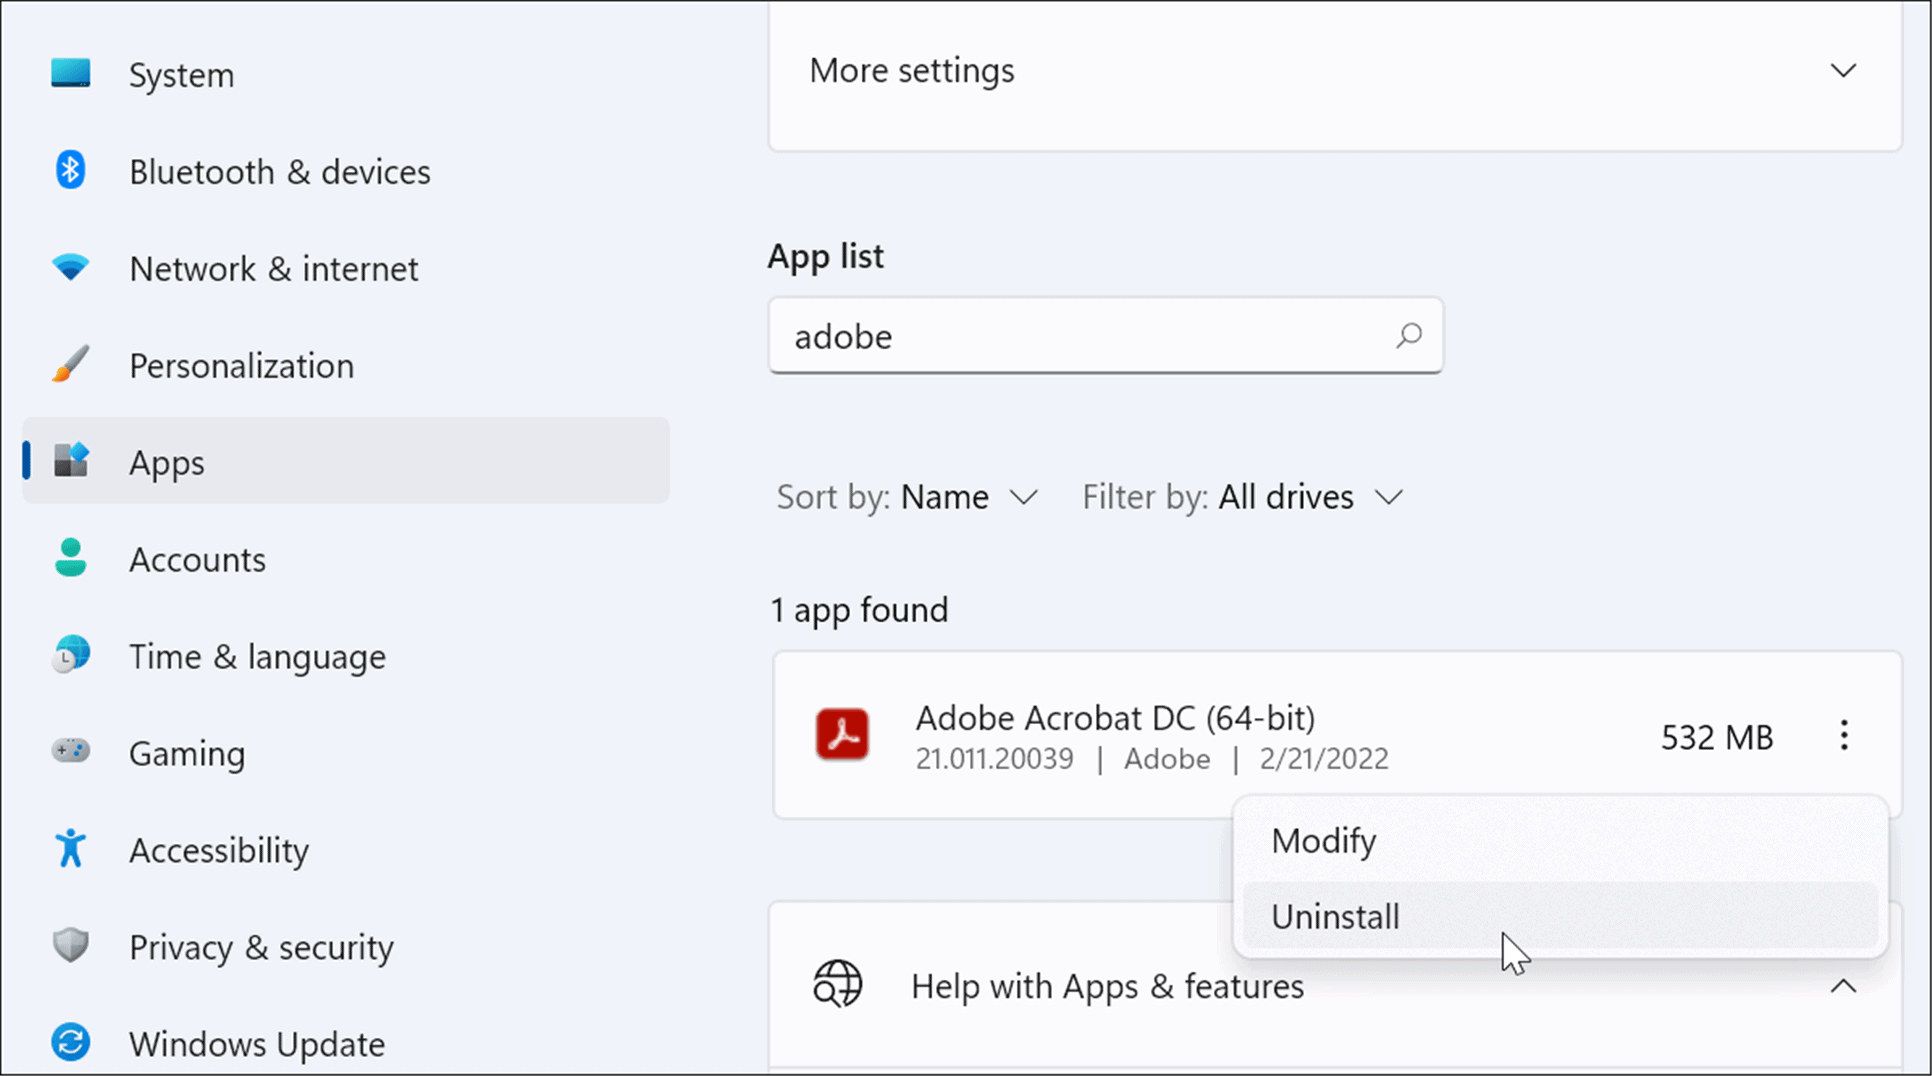
- Click Start > Settings > Apps > Apps & features and search for the problematic app.
- Select the three-dot button next to the app and select Uninstall from the menu.

- Click Uninstall again to verify.


When you uninstall apps through Windows, there are remnants of it still lingering in system folders and the Registry. To remove all traces of it, take a look at how to completely remove software on Windows.
After the app uninstalls, check to see if Windows still crashes. If it doesn’t, you may want to try and reinstall the app.
8. Run DISM and SFC Scan
The reason your Windows 11 PC keeps crashing could be because of system file corruption. You can use the SFC and DISM tools included in the OS to fix it. These utilities will scan Windows for corrupted system files and replace them.
To run these tools, use the following steps:
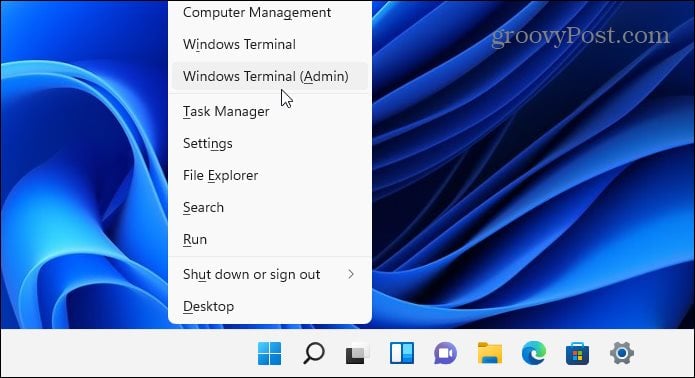
- Right-click the Start button and select Windows Terminal (Admin) from the menu.

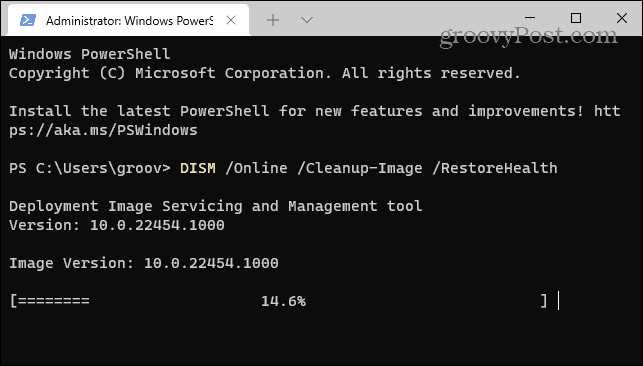
- Enter the following command in the terminal and hit Enter:
DISM /Online /Cleanup-Image /RestoreHealth

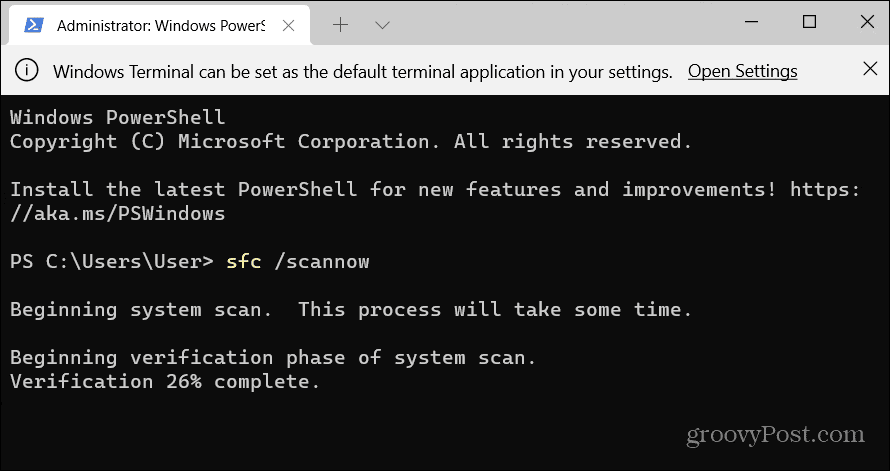
- After the DISM scan completes, run the following command:
sfc /scannow

Note that these scans take a while to run, so you might want to take a break from the computer while they complete. When done, restart Windows 11 and see if your PC still crashes.
9. Reset Your PC to Factory Settings
One of the utilities included in Windows 11 is the Reset this PC feature. It will roll back your device to factory settings, and you can choose to keep or ditch your data.
To perform a PC reset, use the following steps:
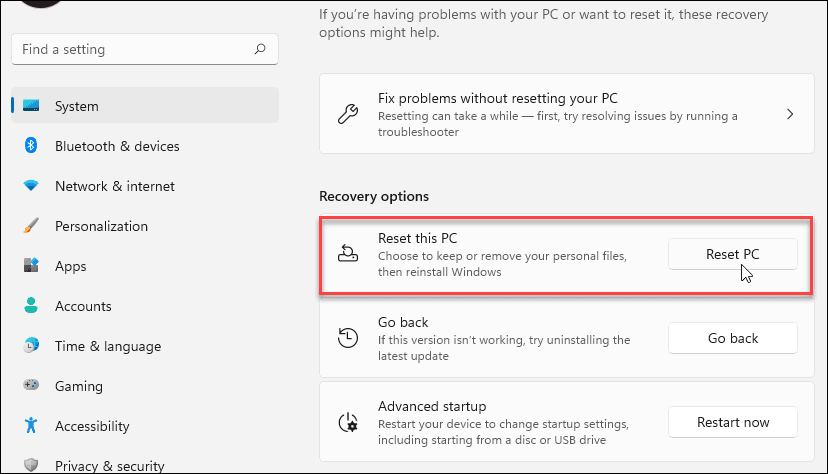
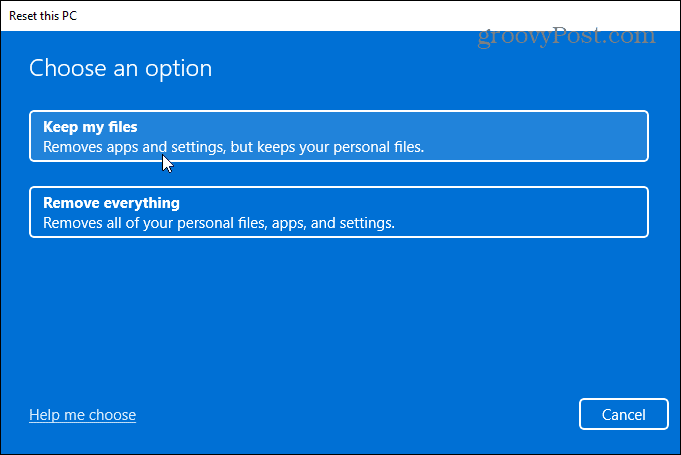
- Open Start > Settings > System > Recovery and click the Reset PC button.

- Choose the type of reset you want to do – either keep your files (which you probably want) or remove everything and start fresh.

Follow the on-screen instructions and wait while your PC is reset to a working state. For step-by-step instructions, read our guide on resetting Windows 11 to factory settings.
10. Recover Windows 11 from a Restore Point
If your PC started crashing at a certain point in time, perhaps after installing a bunch of software, you can recover it from a Restore Point. It’s important to know the System Restore feature isn’t enabled by default. You have to turn it on and create a restore point. So, if you have one, the good news is you can use it to recover your system to a working state.
- Click the Start button, type restore point, and select the top result.
- When the System Properties window appears, click the System Restore button.
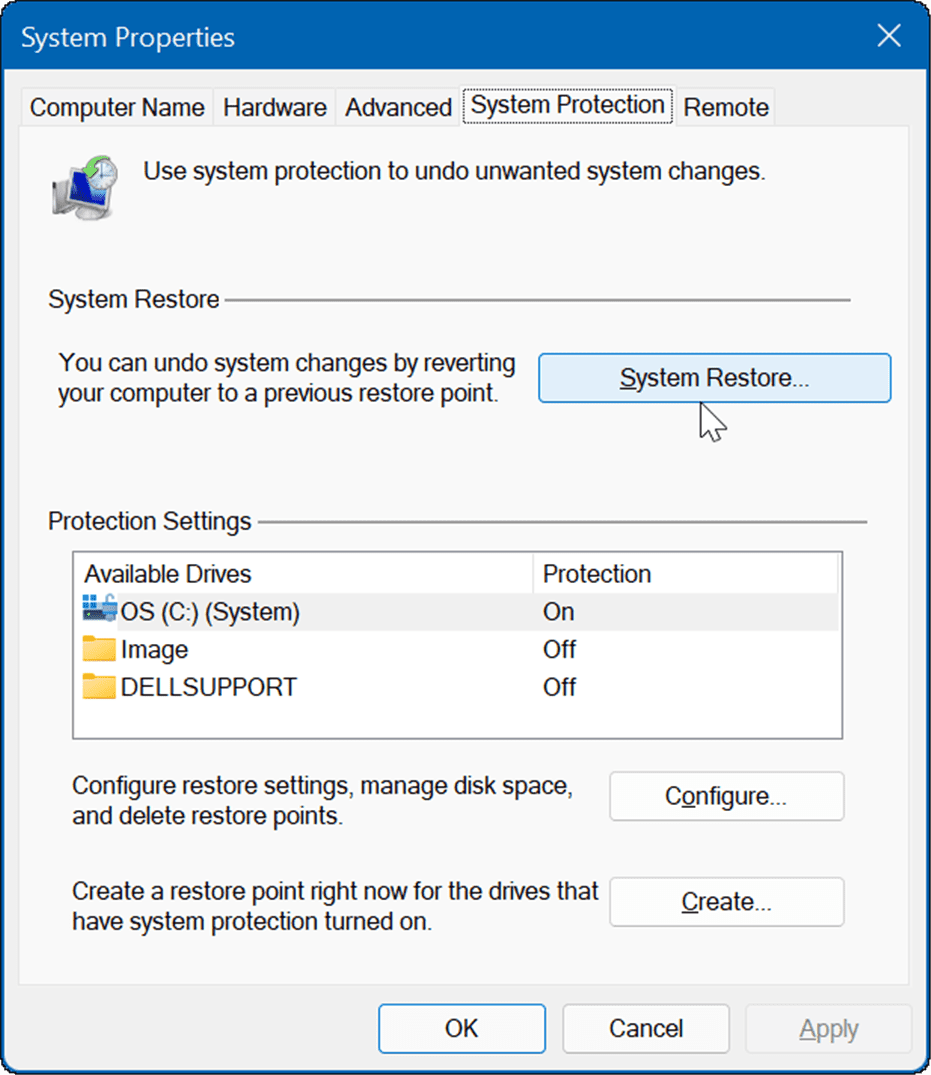

- Navigate through the Restore Point wizard and choose the restore point you want to use.


The Restore Point utility will apply the changes to your system and return it to a working state. Keep in mind that your PC will restart during the process.
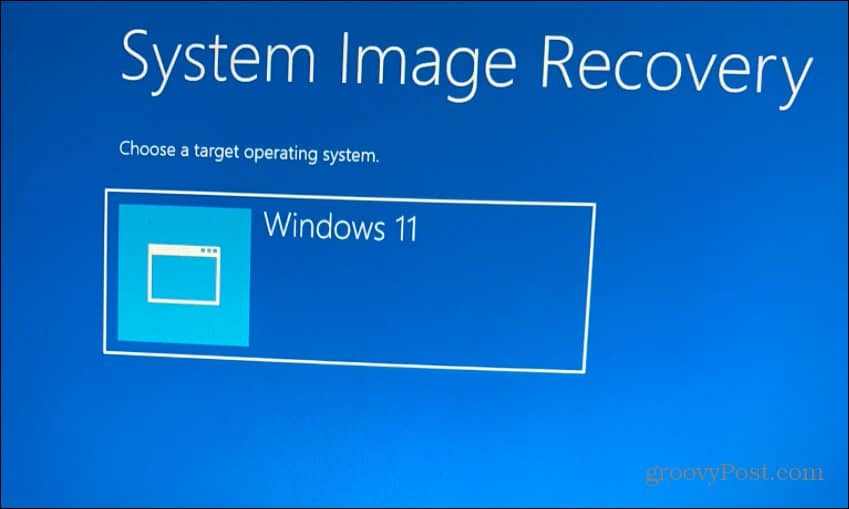
11. Recover Windows 11 from a System Image Backup
A restore point isn’t the only way to recover Windows. If you created a system image backup before it started crashing, you can use it to recover your PC.
To use this option, you need to have a USB installation drive or a Windows 11 USB recovery drive to boot Windows 11 into its recovery environment.
For complete instructions on this process, take a look at our guide on how to recover Windows 11 using a system image.

Fixing an Unstable Windows 11 PC
There are many reasons why Windows 11 might crash, but there are plenty of fixes you can try. Hopefully, one of the options above helps resolve your PC problems when Windows 11 keeps crashing. If nothing seems to work, you can always perform a clean install of Windows 11 and start over.
Another important tip is if you get a blue screen error, jot down the message—it usually has an error number. You can search for that error on your phone and find a cause and hopefully a fix.
Having problems with Windows crashing is why taking preventative measures to up your data is so important. In addition to backing up your files to the cloud via OneDrive or Google Drive, make sure to use a cloud-based backup service like Backblaze. Also, periodically create a full system backup and copy your most important files to an external drive for storage.
